Wildcard certificates with Traefik and cert-manager using Let's Encrypt
Traefik is a leading modern open source reverse proxy and ingress controller that makes deploying services and APIs easy. Cert-manager is a powerful and extensible X.509 certificate controller for Kubernetes and OpenShift workloads that obtains certificates from various issuers, ensures they remain valid and up-to-date, and attempts to renew them at a configured time before expiry.

Prerequisites
Before you begin, ensure you have the following:
- A working Kubernetes cluster. If you don’t have one, you can:
- Set up one by following this post
- Use my Ansible playbook for automated deployment
kubectlandhelmCLI tools installed and configured to access your cluster- A domain name that you own and can configure DNS records for (this guide uses
plutolab.livewith Cloudflare as the DNS provider) - A LoadBalancer service for Traefik (if using bare metal, follow this MetalLB setup guide)
Installing cert-manager
Step 1: Create a namespace for cert-manager
1
kubectl create namespace cert-manager
Step 2: Add the Jetstack Helm repository
1
2
helm repo add jetstack https://charts.jetstack.io
helm repo update
Step 3: Configure values.yaml
Create a file named cert-manager-values.yaml and add the following content:
1
2
3
4
5
6
7
8
9
replicaCount: 2 # Number of replicas for the cert-manager deployment
extraArgs:
  - --dns01-recursive-nameservers=1.1.1.1:53,8.8.8.8:53
  - --dns01-recursive-nameservers-only
podDnsPolicy: None
podDnsConfig:
  nameservers:
    - 1.1.1.1
    - 8.8.8.8
Step 4: Install cert-manager using Helm
1
2
3
4
5
6
helm install \
  cert-manager jetstack/cert-manager \
  --namespace cert-manager \
  --values cert-manager-values.yaml \
  --version v1.17.0 \
  --set crds.enabled=true
Step 5: Verify the installation
1
kubectl get pods --namespace cert-manager
You should see the cert-manager pods running. If they are not running, check the logs of the pods to troubleshoot any issues.
Installing Traefik
Step 1: Create a namespace for Traefik
1
kubectl create namespace traefik
Step 2: Install Traefik using Helm
1
2
helm repo add traefik https://traefik.github.io/charts
helm repo update
Step 3: Set up the values.yaml file
Create a file named traefik-values.yaml and add the following content:
1
2
3
4
5
6
7
8
9
10
11
12
13
14
15
16
17
18
19
20
21
22
23
24
25
26
27
28
29
30
31
32
33
34
35
36
37
38
39
40
41
42
43
44
45
46
47
48
49
50
51
52
53
54
55
56
57
58
59
60
61
62
63
globalArguments:
  - "--global.sendanonymoususage=false"
  - "--global.checknewversion=false"

additionalArguments:
  - "--serversTransport.insecureSkipVerify=true"
  - "--log.level=INFO"

deployment:
  enabled: true
  replicas: 2     # Number of replicas for the Traefik deployment. Change this to your desired number of replicas.
  annotations: {}
  podAnnotations: {}
  additionalContainers: []
  initContainers: []

ports:
  web:
    http:
      redirections:
        entryPoint:
          to: websecure
          scheme: https
          permanent: true
  websecure:
    http3:
      enabled: true
    advertisedPort: 4443
    tls:
      enabled: true

ingressRoute:
  dashboard:
    enabled: false

providers:
  kubernetesCRD:
    enabled: true
    ingressClass: traefik-external # name of the ingress class for ingressroutes
    allowExternalNameServices: true
  kubernetesIngress:
    enabled: true
    allowExternalNameServices: true
    publishedService:
      enabled: false

rbac:
  enabled: true

service:
  enabled: true
  type: LoadBalancer
  annotations: {}
  labels: {}
  spec:
    loadBalancerIP: 192.168.201.137 # Change this to your desired IP address from the MetalLB pool
  loadBalancerSourceRanges: []
  externalIPs: []

tlsStore:
  default:
    defaultCertificate:
      secretName: k8s-plutolab-live-tls  # Change this to your desired secret name. Make a note of this secret name, as we will use it later to create the TLS secret for the wildcard certificate.
Step 4: Install Traefik using Helm
1
2
3
4
helm install \
  traefik traefik/traefik \
  --namespace traefik \
  --values traefik-values.yaml
Step 5: Verify the installation
1
kubectl get pods --namespace traefik
You should see the Traefik pods running. If they are not running, check the logs of the pods to troubleshoot any issues. Check the Traefik service to get the external IP address:
1
kubectl get svc --namespace traefik
You should see the Traefik service with the external IP address assigned by MetalLB. This is the IP address that you will use to access your services.
1
2
NAME      TYPE           CLUSTER-IP   EXTERNAL-IP       PORT(S)                                    AGE
traefik   LoadBalancer   10.96.51.4   192.168.201.137   80:32689/TCP,443:30357/TCP,443:30357/UDP   2m
Step 6: Configuring Traefik dashboard
To access the Traefik dashboard, you need to create an IngressRoute for the dashboard. Create a file named traefik-dashboard.yaml and add the following content:
1
2
3
4
5
6
7
8
9
10
11
12
13
14
15
16
apiVersion: traefik.io/v1alpha1
kind: IngressRoute
metadata:
  name: traefik-dashboard
  namespace: traefik
  annotations:
    kubernetes.io/ingress.class: traefik-external
spec:
  entryPoints:
    - websecure
  routes:
    - match: Host(`traefik.k8s.plutolab.live`)  # Change this to your desired domain name for the Traefik dashboard. It should point to the external IP address of the Traefik service.
      kind: Rule
      services:
        - name: api@internal
          kind: TraefikService
Apply the IngressRoute:
1
kubectl apply -f traefik-dashboard.yaml
The annotation kubernetes.io/ingress.class: traefik-external is used to specify the ingress class for the IngressRoute. This is important because it tells Traefik to use the external ingress class for this IngressRoute. You can change this to any other ingress class that you have configured in your cluster.
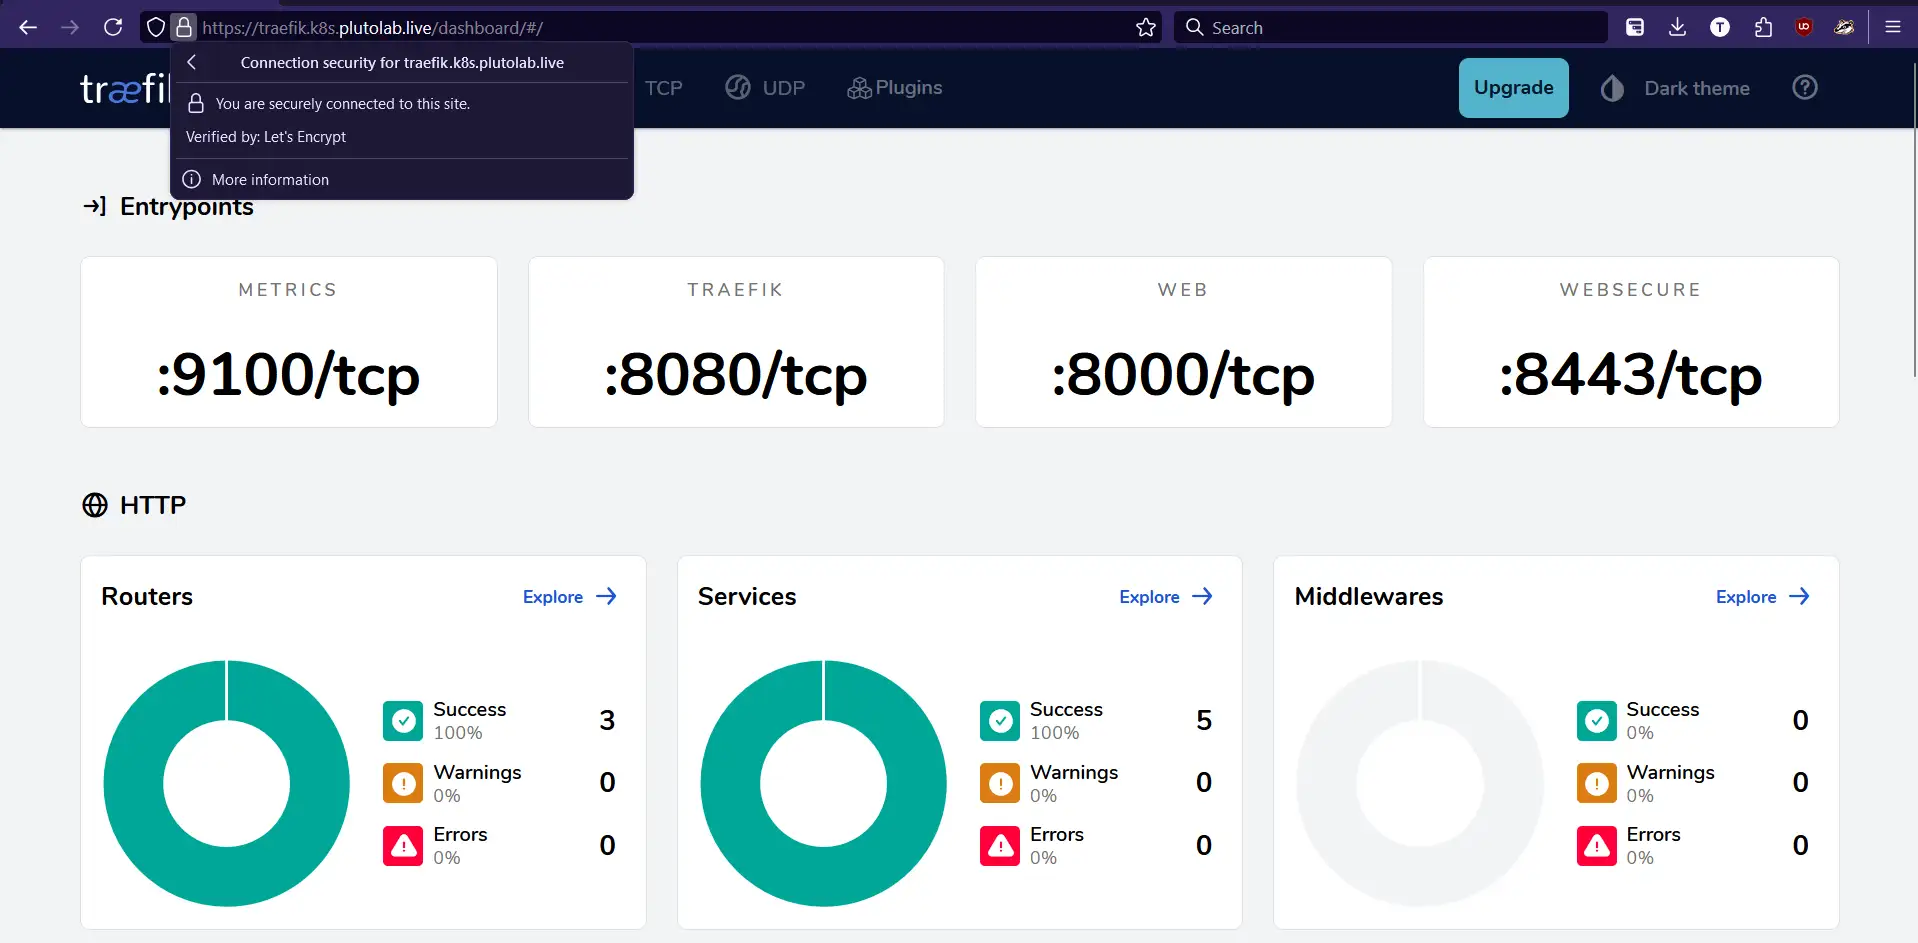
You can now access the Traefik dashboard at https://traefik.k8s.plutolab.live/dashboard/. You can use any other domain name of your choice, but make sure to update the IngressRoute accordingly. For now you will get a certificate error, as we have not yet created the wildcard certificate for the domain name. We will do that in the next step.
Creating a wildcard certificate using cert-manager
In this section, we’ll create a wildcard certificate (*.k8s.plutolab.live) using cert-manager with Let’s Encrypt as the certificate authority. We’ll use the DNS01 challenge method, which is required for wildcard certificates.
Since we’re using Cloudflare as our DNS provider, we’ll need to create an API token to allow cert-manager to automatically create and manage DNS records for the DNS01 challenge verification process.
Step 1: Create a Cloudflare API token
- Log in to your Cloudflare account and go to the API Tokens page.
- Click on the “Create Token” button.
- Select the “Edit zone DNS” template.
- Select the zone for which you want to create the wildcard certificate (e.g.,
plutolab.live). - Ensure the following permissions are selected:
- Zone: DNS: Edit
- Zone: DNS: Read
- Click on the “Continue to summary” button.
- Review the permissions and click on the “Create Token” button.
- Copy the API token and save it in a secure place. You will need it in the next step.
- Create a Kubernetes secret to store the Cloudflare API token:
1
2
3
kubectl create secret generic cloudflare-api-token \
  --namespace cert-manager \
  --from-literal=api-token=<your-cloudflare-api-token>
Verify the secret:
1
kubectl get secret cloudflare-api-token --namespace cert-manager -o yaml
You should see the secret with the API token.
Step 2: Create a ClusterIssuer resource
Create a file named
cluster-issuer.yamland add the following content:
1
2
3
4
5
6
7
8
9
10
11
12
13
14
15
16
17
18
19
20
21
apiVersion: cert-manager.io/v1
kind: ClusterIssuer
metadata:
  name: letsencrypt-production
spec:
  acme:
    server: https://acme-v02.api.letsencrypt.org/directory # Let's Encrypt production server
    email: <your-email>
    privateKeySecretRef:
      name: letsencrypt-production
    solvers:
      - dns01:
          cloudflare:
            email: <your-email>
            apiTokenSecretRef:
              name: cloudflare-api-token # Name of the secret created in the previous step
              key: api-token              # Key of the secret created in the previous step
        selector:
          dnsZones:
            - "plutolab.live" # Change this to your domain name
Apply the ClusterIssuer resource:
1
kubectl apply -f cluster-issuer.yaml
Verify the ClusterIssuer:
1
kubectl get clusterissuer letsencrypt-production
You should see the ClusterIssuer with the status Ready. If it is not ready, check the logs of the cert-manager pod to troubleshoot any issues.
Step 3: Create a Certificate resource
Create a file named wildcard-certificate.yaml and add the following content:
1
2
3
4
5
6
7
8
9
10
11
12
13
14
apiVersion: cert-manager.io/v1
kind: Certificate
metadata:
  name: k8s-plutolab-live-tls
  namespace: traefik
spec:
  secretName: k8s-plutolab-live-tls  # Change this to your desired secret name. This should match the secret name in the traefik-values.yaml file.
  issuerRef:
    name: letsencrypt-production
    kind: ClusterIssuer
  commonName: "*.k8s.plutolab.live"
  dnsNames:
  - "plutolab.live"
  - "*.k8s.plutolab.live"
Apply the Certificate resource:
1
kubectl apply -f wildcard-certificate.yaml
Applying the Certificate resource will trigger cert-manager to create the DNS records for the DNS01 challenge and obtain the wildcard certificate from Let’s Encrypt. You can check the status of the certificate by running:
1
kubectl describe certificate k8s-plutolab-live-tls --namespace traefik
Get the challenge:
1
kubectl get challenges --namespace traefik
You will see the challenge created by cert-manager. It will create a DNS record for the challenge and wait for the DNS record to propagate. Once the DNS record is propagated, cert-manager will obtain the wildcard certificate from Let’s Encrypt. On certificate creation, the challenge will be removed.
Step 4: Verify the certificate
You can verify the certificate by checking the secret created by cert-manager:
1
kubectl get certificate k8s-plutolab-live-tls --namespace traefik
1
2
NAME                    READY   SECRET                  AGE
k8s-plutolab-live-tls   True    k8s-plutolab-live-tls   2m7s
You should see the certificate with the status True.
It might take a few minutes for the certificate to be issued. If it is not ready, check the logs of the cert-manager pod to troubleshoot any issues.
Do not repeat this over and over again, as it will create multiple challenges and you will get rate limited by Let's Encrypt.
You can now access the Traefik dashboard at https://traefik.k8s.plutolab.live/dashboard/. You should see the Traefik dashboard with a valid certificate. You can use any other domain name of your choice, but make sure to update the IngressRoute accordingly.
Verifying the ingress with a test application
Now that we have Traefik and cert-manager set up with a valid wildcard certificate, let’s deploy a test application to verify everything is working correctly.
Step 1: Create a test application
Create a file named test-app.yaml and add the following content:
1
2
3
4
5
6
7
8
9
10
11
12
13
14
15
16
17
18
19
20
21
22
23
24
25
26
27
28
29
30
31
32
33
34
35
36
37
38
39
40
41
42
43
44
45
46
47
48
49
50
51
apiVersion: apps/v1
kind: Deployment
metadata:
  name: test-app
  namespace: default
spec:
  replicas: 1
  selector:
    matchLabels:
      app: test-app
  template:
    metadata:
      labels:
        app: test-app
    spec:
      containers:
        - name: test-app
          image: nginx
          ports:
            - containerPort: 80
---
apiVersion: v1
kind: Service
metadata:
  name: test-app
  namespace: default
spec:
  selector:
    app: test-app
  ports:
    - protocol: TCP
      port: 80
      targetPort: 80
  type: ClusterIP
---
apiVersion: traefik.io/v1alpha1
kind: IngressRoute
metadata:
  name: test-app
  namespace: default
  annotations:
    kubernetes.io/ingress.class: traefik-external
spec:
  entryPoints:
    - websecure
  routes:
    - match: Host(`test.k8s.plutolab.live`) # Change this to your desired domain name for the test application
      kind: Rule
      services:
        - name: test-app
          port: 80
Apply the test application:
1
kubectl apply -f test-app.yaml
Step 2: Verify the test application
First, ensure the test application is running:
1
kubectl get pods -l app=test-app
Make sure DNS is configured correctly by adding a DNS record for test.k8s.plutolab.live pointing to your Traefik’s external IP address.
You can now access the test application at https://test.k8s.plutolab.live. You should see the Nginx welcome page with a valid certificate, confirming that:
- Traefik is correctly routing traffic to your service
- The wildcard certificate is being applied properly
- HTTPS is working as expected

Conclusion
In this guide, we’ve successfully:
- Installed and configured cert-manager to manage TLS certificates
- Set up Traefik as an ingress controller for Kubernetes
- Created a wildcard certificate using Let’s Encrypt and the DNS01 challenge method
- Deployed a test application to verify our configuration works
This setup provides a robust foundation for securing your Kubernetes applications with automatic TLS certificate management. Some benefits of this approach include:
- Automatic certificate renewal: Let’s Encrypt certificates are valid for 90 days, but cert-manager automatically renews them before expiration
- Wildcard certificates: A single certificate covers all your subdomains
- Scalability: The solution works for any number of services you deploy
- Security: All traffic is encrypted with industry-standard TLS
Next Steps
To further enhance your Kubernetes ingress setup, consider:
- Implementing rate limiting with Traefik’s middleware
- Setting up authentication for sensitive services
- Configuring custom error pages
- Implementing canary deployments using Traefik’s traffic splitting capabilities
- Setting up monitoring and alerts for your certificates
For more information on these topics, check the official documentation:
If you have any questions or feedback, feel free to leave a comment below. Happy Kubernetes journey!